The guide is an explanation of the process of installing a solar generator set in 2026, including components, installation process, safety preparation, and efficiency recommendations. It does a comparison of the best brands, outlines the most frequent mistakes to be avoided, and provides buying considerations, which can help users gain trustworthy off-grid power and long-term energy independence.
Installation of Solar Generator Kit: Guide until 2026.
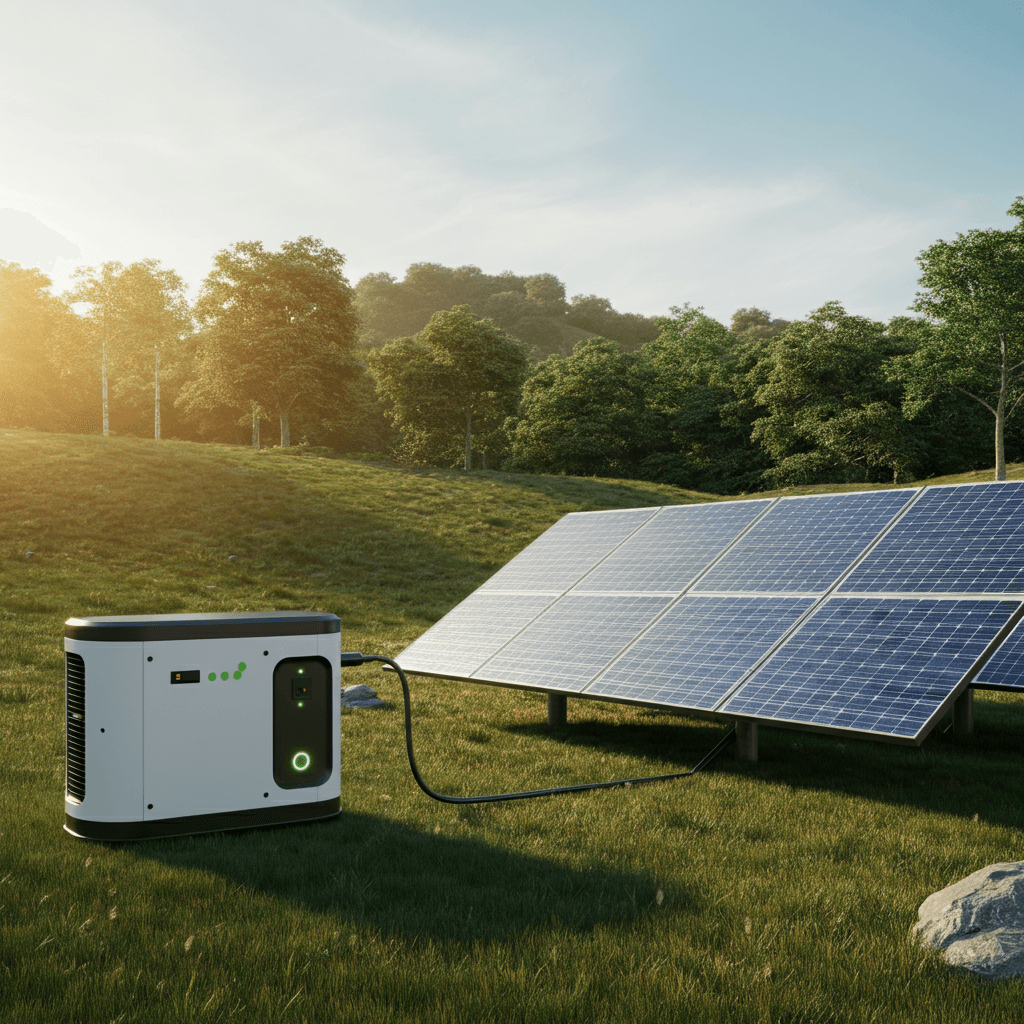
The need to possess off-grid power has never rendered solar generator kits as famous as it is now. These all-in-one solutions are now very efficient and are convenient to use by 2026, and provide an effective means of using the energy of the sun. Solar generator is clean and quiet, and may be used during camping or in the RV or as an emergency backup at home, without the use of the traditional grid.
It is a novice manual that is expected to be adhered to. It does not need an individual to be an electrician. We will also unpack your kit to its best performance. At the conclusion of it, you will know every bit of your system, how to put your system together safely, and what to do to get the best out of your work. It is time to begin being energy independent.
A Solar Generator Kit Components.
A solar generator kit is a box containing all the necessary elements that you require to build a portable power station. The majority of the kits consist of a generator unit (the battery and the inverter), solar panels, and the required cables and connectors, but the details vary depending on the brand. The most popular brands, such as EcoFlow, Bluetti, Jackery, and Nature Generator, sell complete packages depending on the various requirements.
These kits are of two major types, including portable and stationary. Portable kits are small and light in weight and can be carried around during traveling or even outdoors. Still, systems are also bigger and more robust and would serve as a backup in the house or off-grid life. Your power needs (power output (watts) and battery capacity (storage capacity) will decide the type of choice that you will make. A small kit would be ideal when charging a laptop when there is camping, but a larger system could be utilized to charge the necessary home appliances in the case of power outages.
Solar Generator Kit Comparison (2026)
| Kit Name | Power Capacity | Solar Input | Battery Type | Setup Difficulty | Ideal Use |
| Jackery Solar Generator 2000 Plus | 2000W / 2042Wh | 800W | LiFePO4 | Easy | Home backup, RVs |
| Bluetti AC200MAX Kit | 2200W / 2048Wh | 900W | LiFePO4 | Moderate | Off-grid, van life |
| Nature’s Generator Gold Kit | 1800W / 720Wh | 200W | AGM Lead Acid | Moderate | Camping, small backup |
| EcoFlow Delta Pro Kit | 3600W / 3600Wh | 1600W | LiFePO4 | Advanced | Whole-home or small business |
Tools and Safety Prep
Preparation: Before you start, you need to make some basic equipment preparations and carry out some basic safety checks. The majority of kits are put together with no screwdriver, but a screwdriver, gloves, a multimeter, and zip ties can come in handy.
Safety is paramount. You should also make sure that you check your cables before connecting them to avoid damage. Make sure that the generator unit is well ventilated to avoid overheating, and also do not leave all the parts in contact with moisture. The manual of the manufacturer should also be consulted to get to know the voltage limits and polarity of his or her system. Select a good location for installation: the generator should be placed in a shaded and cool location, and the solar panels should be placed in areas where the sun is not obscured.
Installation of Solar Generator in Steps.
The following are the procedures to be followed in order to put your kit together in an efficient and safe manner.
1. De-packing and Inspection of all parts.
Solar generator, panel, and cable.Reasonable unpacking. Inspect any external damage that might have taken place during shipping. Check the parts list in your manual against what you are supposed to have and ensure that you have everything. Ensure that cables and ports are of the right specification.
2. Position Your Solar Panels
You are supposed to put your solar panels in a place where you are sure of maximum sunshine in the daytime. This usually involves addressing them southwards in the US. Vary the pitch of the panel according to the place and the time of the year in order to get as much sunshine as possible.
3. Install Solar panels on the Charge Controller.
The solar panels will then be connected to a charge controller (usually included in the generator unit). Caution on polarity -It should be mentioned here that the positive cable is a plus cable to be connected to the positive post, and the negative cable is a negative cable to be connected to the negative post. Make sure that the connections are tight to avoid loss of power.
4. Connect the Charge Controller and the Battery.
Otherwise, should your kit have an external battery and charge controller, then connect them with each other using the cables that are included. Again, observe good directions of polarity and voltage in your manual. An encrypted network is essential for effective billing.
5. Install Inverter/ Generator Unit.
After connecting the panels and the battery, either the inverter or the main generator unit is to be connected. This is what transforms the DC power in the battery to the AC power, er which is consumed by your appliances. Measure the output voltage of a component that is plugged into a multi meter and ensure that it is right.
6. Install and Test your Electric Appliances.
Begin with the low-power devices in your system, Phone charger or an LED light. When you are sure that you have everything in place, then you can move on to bigger appliances such as a laptop or a small fridge. Another recommendation is that you do not overload the inverter.
Optimizing the Solar Charging Efficiency.
Solar generator can be maximized by some best practices. You are supposed to recharge your system at the brightest time of the day, which is between 10 AM and 4 PM. To make it more efficient, you may adjust the angles of your panel with the seasons; you may put a steeper angle in the winter and a shallower one in the summer.
Maintenance should also be done on a regular basis. Wipe your solar panels with a piece of soft cloth and water to clean up the dust and dirt, and pollen that may block the sun and decrease the production. Do not put panels where trees or buildings can shade them, and make your cables as short as possible so that you may lose less power. An addition of a kit, which will consist of a Maximum Power Point Tracking (MPPT) charge controller, will also be a good addition in tapping energy, particularly on a cloudy day.
Common Mistakes to Avoid
Some of the pitfalls to be avoided to have a safe running system and one that will last years are as follows:
- Incompatible Parts: You should not confuse the panels or batteries of different voltages because this will destroy your system.
- Leaving Connections Loose: The lost or loose cables will cause the loss of power and will cause a safety hazard.
- Overloading the Inverter: It is not advisable to overload your inverter by connecting appliances that are bigger than the maximum capacity of your inverter.
- Failure to Disconnect: When transporting or packing your system, you always need to disconnect the panel; otherwise, you will destroy it.
- Missing Maintenance: It will not service your battery and clean your pan, and this will shorten the life of your system and will makeess efficient.
Key Buying Considerations
The considerations that will be made in the selection of a solar generator kit include:
- Power Requirement: Divide the power requirement of the appliances you will be using at the same time.
- Battery Capacity: Lithium (LiFePO4) batteries have also been suggested because they have high safety and light weight.
- Solar Input: It is to ensure that your solar panels will be able to recharge the battery within one day of sunshine.
- Portability: You will want to find out a light construction with strong handles and folding panels when you are traveling.
- Budget: Prices will be between 800 and more than 3000, depending on the size of the kit and its capabilities.
- Warranty and Support: Select the brand that has a warranty of 2 years and good support.
Bringing in Energy Independence.
In 2026, solar generator systems will be more powerful, accessible, and user-friendly than they have ever been before. The need to have your own source of clean energy is something you can easily do when you are planning to survive an emergency, power an off-grid cabin, or you are on a trip in an RV.
With these steps, you will be able to build your system most securely and finely. The first step towards energy self-sufficiency in the long run is to buy a good kit and then go up and install it correctly. The payoff is definite, green power at any cost.
Frequently Asked Questions
Most of the portable kits only need installation within 15-30 minutes. It primarily entails unloading, laying down the panels, and laying some cables.
Yes, the majority of the systems can be expanded by several panels in a row or in parallel to increase the power of the sun and accelerate the process of charging. You should always refer to your manual on the limits of voltage and wattage.
In fact, solar generators may be installed in the house because they do not produce gas, as gas generators do, but are also totally silent. How much sunshine does it require to charge it?
The solar generator batteries will require 5-7 hours of full-intensity sunshine to be fully charged. This may be pegged on panel wattage, weather, and battery size.
Portable kits are light and mobile and include folding panels. Fixed kits are larger and stronger and are designed to be used in fixed applications, such as in-home backup or off-grid cabins.
Even the modern solar generators are largely modular, that is, you can simply add more batteries or solar panels as the need arises. Similarity in the product specifications.
Ye, and they are less efficient in charging. The solar panels will still produce power on cloudy days or even in the winter season, but it will require a longer time to charge the battery.