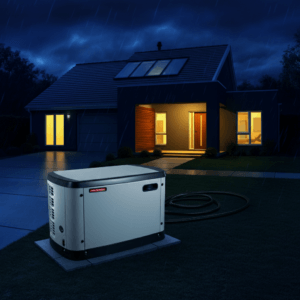
Need an ample backup power supply for your home or a portable power supply for your next camping holiday? The solution can be a home-built solar generator. A solar generator is a good initiative and one you would never leave without power, with the comfort of solar power.
The solar generators would replace the noisy, dirty, low-maintenance gas-powered generators. They use the sun’s rays to charge a battery, which they then use to power their appliances. It would involve no screaming engines, no fumes, and no gas-station rush. Its self-configuration will allow you to build the system that suits your power needs and budget, and you will have mastered the desirable skill set.
This tutorial will provide all the details you need to assemble your own solar generator. We will provide you with the parts you need, step-by-step directions for constructing them, and some precautions. You may make your own source of power sustainable, you know it, and you are sure of it in the end.
Let’s begin by understanding how to build your solar generator from the ground up.
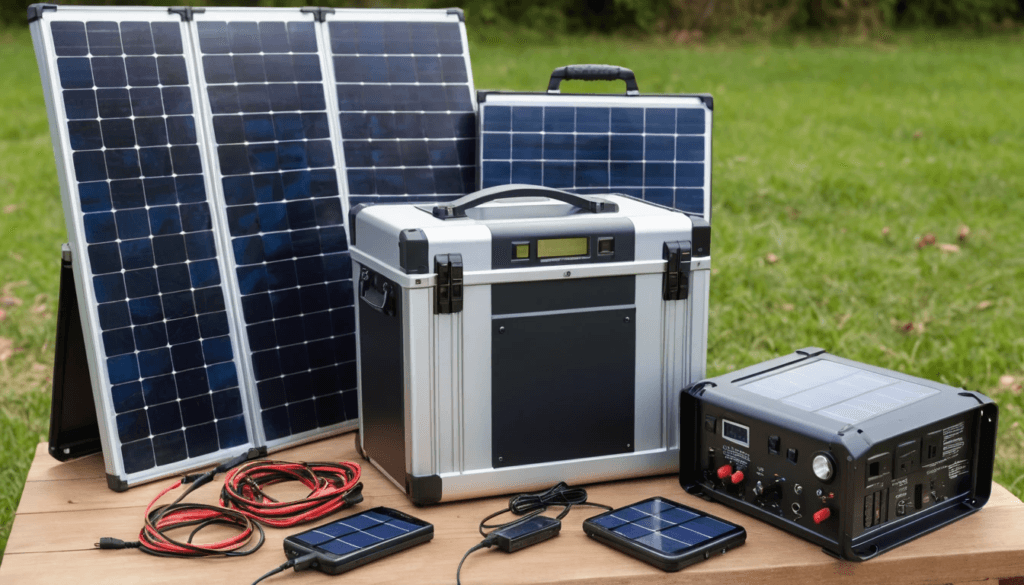
It is already prepared with the right parts you need to put together before commencing construction. All of these are important regarding how your generator obtains, stores, and releases power. The four crucial aspects would be further broken down as follows.
1. Solar Panels
These are the solar panels, the heart of your system that collect sunlight and convert it into electricity. If the project is small and DIY, you will be interested in efficient panels that can be moved around. Monocrystalline Panels are characterised by high efficiency and a dark, smooth appearance. They also go hand in hand with darkness, but they can be a good alternative, provided one has a sound generator.
- Polycrystalline panels are less efficient but cheaper than monocrystalline panels.
- Wattage: 100-200 watts per panel is a decent start for an amateur project. This allows it to rejuvenate your battery in a relatively short time, not too long.
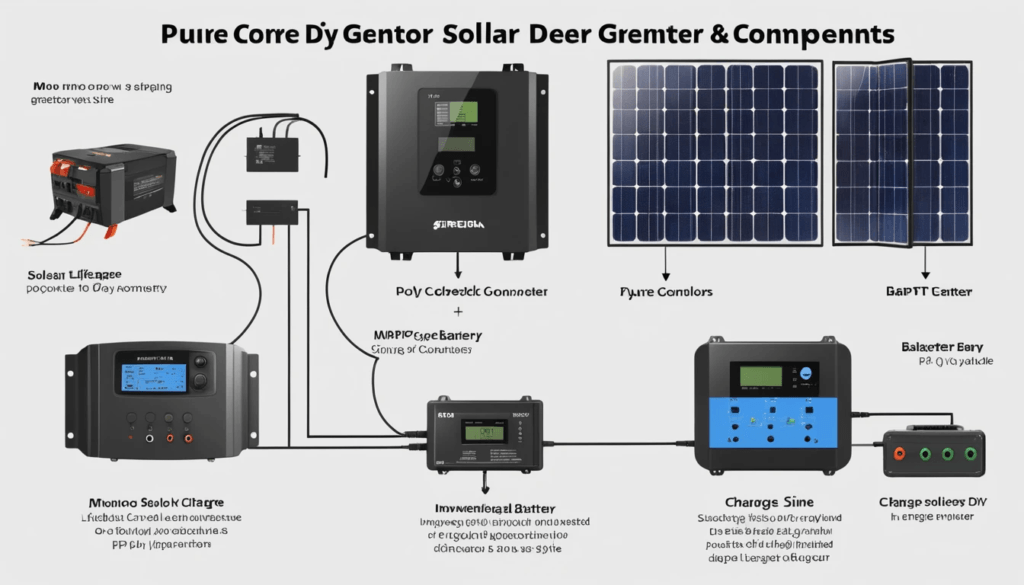
2. Deep Cycle Battery
The battery is what stores energy. It also has a deep-cycle battery, which provides long-term power, unlike a car battery, which provides a short burst of power to an engine. They are cumbersome and have a relatively short lifespan, though they are reasonable and rather affordable to begin with. AGM (Absorbent Glass MAGM (Absorbent Glass Mat) batteries do not leak and require no maintenance. Lithium-Ion (LiFePO4): Lithium batteries are the best. They are not heavy, far more costly to buy in the first place, and may be disposed of at a deeper depth without being destroyed. They are not cost-effective at the start, but in most cases, they are cost-effective in the long term as they are long-lasting.
- Capacity (Amp-Hours): A 50-100 Amp-hour (Ah) battery will be suitable for a small to medium-sized DIY generator. This will provide enough power to operate phones, laptops, and small appliances. Controller
The brain controls the solar generator. It is surrounded by the solar panels and the battery, which regulates the battery voltage and the current flowing through the panels to prevent the battery from being overcharged (Modulation). PWM controllers are low-cost, low-complexity controllers suitable for smaller systems. They work to supply less and less power to the battery as it fills.
- MBattMBattery PowerTracking (MPPT): The MPPT controllers are more efficient. They use all the power. Maximum Power Point Tracking (MPPT): The MPPT controllers are more efficient. They use all the power they can draw from the solar panels and convert the excess voltage into additional current. This can add up to 30 per cent to power consumption, especially in cold or low-light conditions. The MPPT controller is highly warranted in a considerable percentage of the installations. Convert your battery alternating current, which most home appliances consume. PureSine Wave Inverter: It produces high-quality, clean power equivalent to grid power. It can be installed in the appropriate size for delicate electronics like laptops, televisions, and medical appliances. Sine Wave IAltered Sine Wave Inverter: It is less expensive but produces a smoother electrical signal.Ave Inverter: It is less costly but produces a smoother electrical signal. They can operate simple machines such as motors and lights, but not more delicate electronics. A highly recommended option is a pure sine wave inverter, as it is very reliable and safe at all times. The majority of entry-level setups would be built around the 500-1000-watt inverter, and you can use laptops, lights, and even small kitchen items. Once you have gathered your main components, you are ready for assembly. Follow these instructions to put together your solar generator step by step
And now you need to take all your parts together. These are the steps that should be undertaken. Another rule worth adhering to before you permanently connect all your parts and wires is to lay them out.
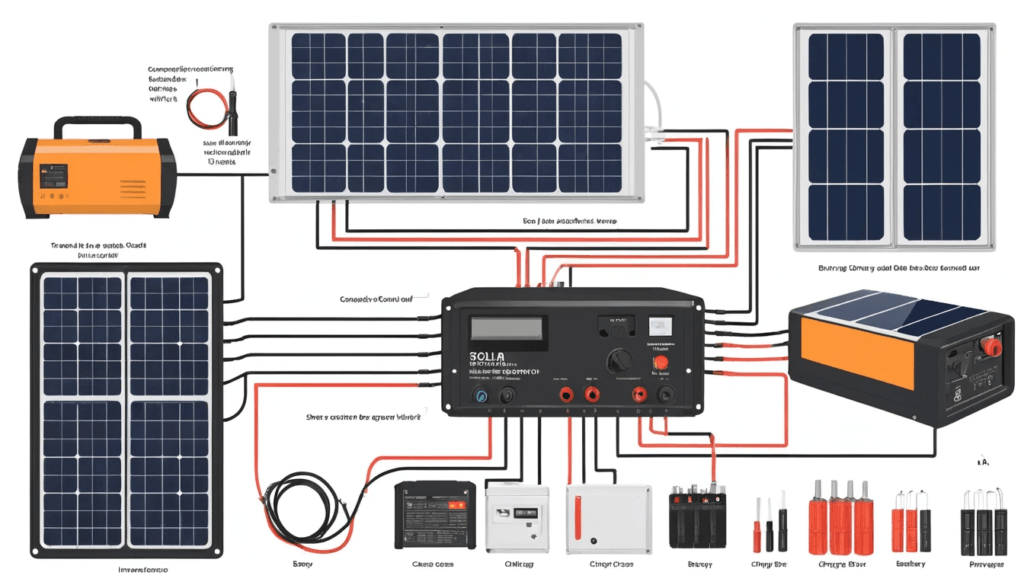
Step 1: Case Preparation.
You should keep your parts in a nice, well-ventilated box or a case. This will rescue them when they are ruined and pour your generator on the highway. Install the battery, charge controller, and rudder in the case, and ensure there is sufficient space for air circulation to prevent overheating. The battery of your charger is charged by connecting its terminals with wires of the appropriate size (in the overwhelming majority of cases, 10-12 AWG). One should always ensure that they insert the battery first, then the battery voltage (12 V or 24 V) would be automatically detected by the charge controller.
The positive terminus of the charge controller is connected to the positive terminus of the battery.
To the negative battery, the negative controller battery.
Step 3: Connect the Charge Controller to the Solar Panels.
Here, you will be required to connect your solar panels to the charge controller. You should not do this until you cover up the panels or turn them out in the sun, or you will find them producing power when you are at work.
Connect the positive wire from the solar panel to the positive (+) solar input of the charge conConnect the positive wire from the solar panel to the charge controller’s solar input (+).rge controller.
Its relation can be traced to sunlight. It is also required that the charge controller display that it is being charged.
Step 4: Finish connecting the inverter to the battery.
An inverter is a battery-current-consuming device; hence, one needs a thick wire to ensure it can be placed on the battery.
Connect the iBattery’s positive terminal to the battery’s positive terminal.
Connection of the inverter to the negative battery.
The high-current battery damages the controller, so the inverter cannot be connected to the charge controller’s load terminals. The high current can damage the controller, so the inverter cannot be connected to the charge controller load terminals (e.g., a cigarette lighter) or to the USB port in the charge controller load terminals. This offers an option of charging the phones without an inverter and charging 12 V appliances. Instructions that are to be followed are contained in these pages. After completing the assembly, you should test your solar generator to ensure it works as intended. Here’s how to do it step by step.
Your generator has been fully assembled, and you are now ready to test it. Switch on the inverter and insert a small device, such as a lamp or phone charger, to confirm it is on. Check your solar panel or the display on your charge controller to ensure the battery is charging.
The issues that will be experienced in case something is not working will involve the following:
- No inverter power: Ensure the inverter is fitted correctly to the battery. Ensure that you Batteryenish the battery.
- Failure to charge: This occurs when the solar panel is not on, or the charge controller wires are not connected correctly or are of different polarity.
- Failure of the charge controller: See the controller’s manual. It can be a loose fit, a wiring issue, or a battery issue.
Safety and Maintenance. Safety should be your top priority when assembling and using your solar generator. Safe.
- Training outside, especially when it comes to a lead-acid battery.
- The latter must not be left uncharged or unplugged; ensure it is closed.
- Fuses should be used to eliminate short circuits in the positive wires connecting the parts (between panel-to-controller, controller-to-battery, and battery-to-inverter).
- It should not be overheated; in this case, appropriately sized wires should be used to conduct electrical current.
Maintenance is minimal. Wipe your solar panel and wires, occasionally test them to ensure they are tight, and put the generator in a cool, dry place.
Planning your own Future and Creating it Sustainably.
A homemade solar generator is not easy to build, but it is a step towards energy self-sufficiency and sustainability. It is a more viable experience. A homemade solar generator is not easy to build, but it is a step towards energy self-sufficiency and sustainability. Once on the ground, it shows how renewable energy works and provides a good, reliable backup power source when the power goes out or you are not on the grid. In the future, adopt a cleaner, more sustainable way of life.